I hesitated posting this because some of you aren't going to really care, but for those of you who play around in Photoshop, I thought I'd share. Once again I spent way more time on this then necessary, but that seems to be my habit these days.
(BTW - these girls are 5 of the 13 girls my activity day group. We had a big parent night with them last night and I made a poster with their name and photo on it. They turned out pretty cute, but most importantly the girls loved them.)
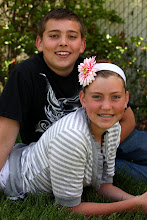
 I admit, she's my favorite!

 Smoothed the hair, whitened the teeth (and took the food out of them) and lightened the dark circles under the eyes.
 Peep hole and glaring highlight: First you see them, now you don't!
 Who knew a few clicks of the mouse was as good as a brush?
 This is very subtle. You almost have to look up close to really tell. I couldn't get her to smile much when I took the shot, but in the end, I won by using the Liquify technique.


7 comments:
Very nice...it is hard to not spend time on things like that, luckily it is really fun.
Look at you! Although I have to say liquefy sounds likes something from a Harry Potter book. ;)
She's my favorite too! I'll have to figure out how to open that part of the "edit" so far I can only do the quick fix.
Alli is growing up so much, I hardly recognize her in that picture!
Beautiful! I am very impresed at your skills! I am sure the girls don't appreciate the time it took you, but what a nice treasure for them. They will feel good about themselves whenever they look at it.
I'm impressed. I'm still trying to figure out Photoshop. I think I put in 3 or 4 calls a day to my sister. She's my help line.
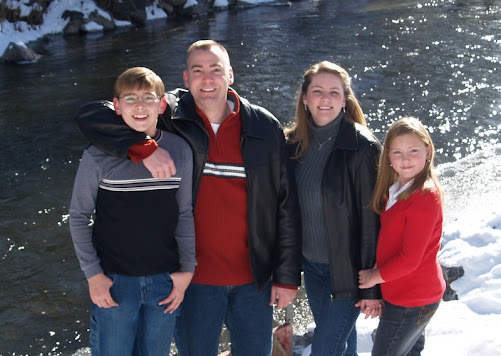
How did you do the dark around the outside edge?
I made a new layer, filled it in with black. Then I used the marquee tool and created an oval, feathered it 100 px and deleted the inner part of the oval, thus revealing the photo underneath the extra layer. Merge the two layers and voila! You're done! Oh, and I changed the opacity to 80%.
Woah. OK - I've got some learnin' to do.
Post a Comment